Home
Contents
Travel/Tour
TikTok
TikTok Free Course
TikTok Short Video
TikTok Affiliate
TikTok Live
TikTok Shop
Parenting & Education
Lifestyle
Tech & Programming
Language Learning
Photography & Videography
Business & Entrepreneurship
Cooking & Culinary
Fitness & Wellness
All Contents
Blog
0
Login
Sign Up
English
Español-ES
简体中文
X
Home
Contents
Travel/Tour
TikTok
Parenting & Education
Lifestyle
Tech & Programming
Language Learning
Photography & Videography
Business & Entrepreneurship
Cooking & Culinary
Fitness & Wellness
Beauty & Makeup
Login
Sign Up
Sunny Show You China
Back to Store >>>
Back
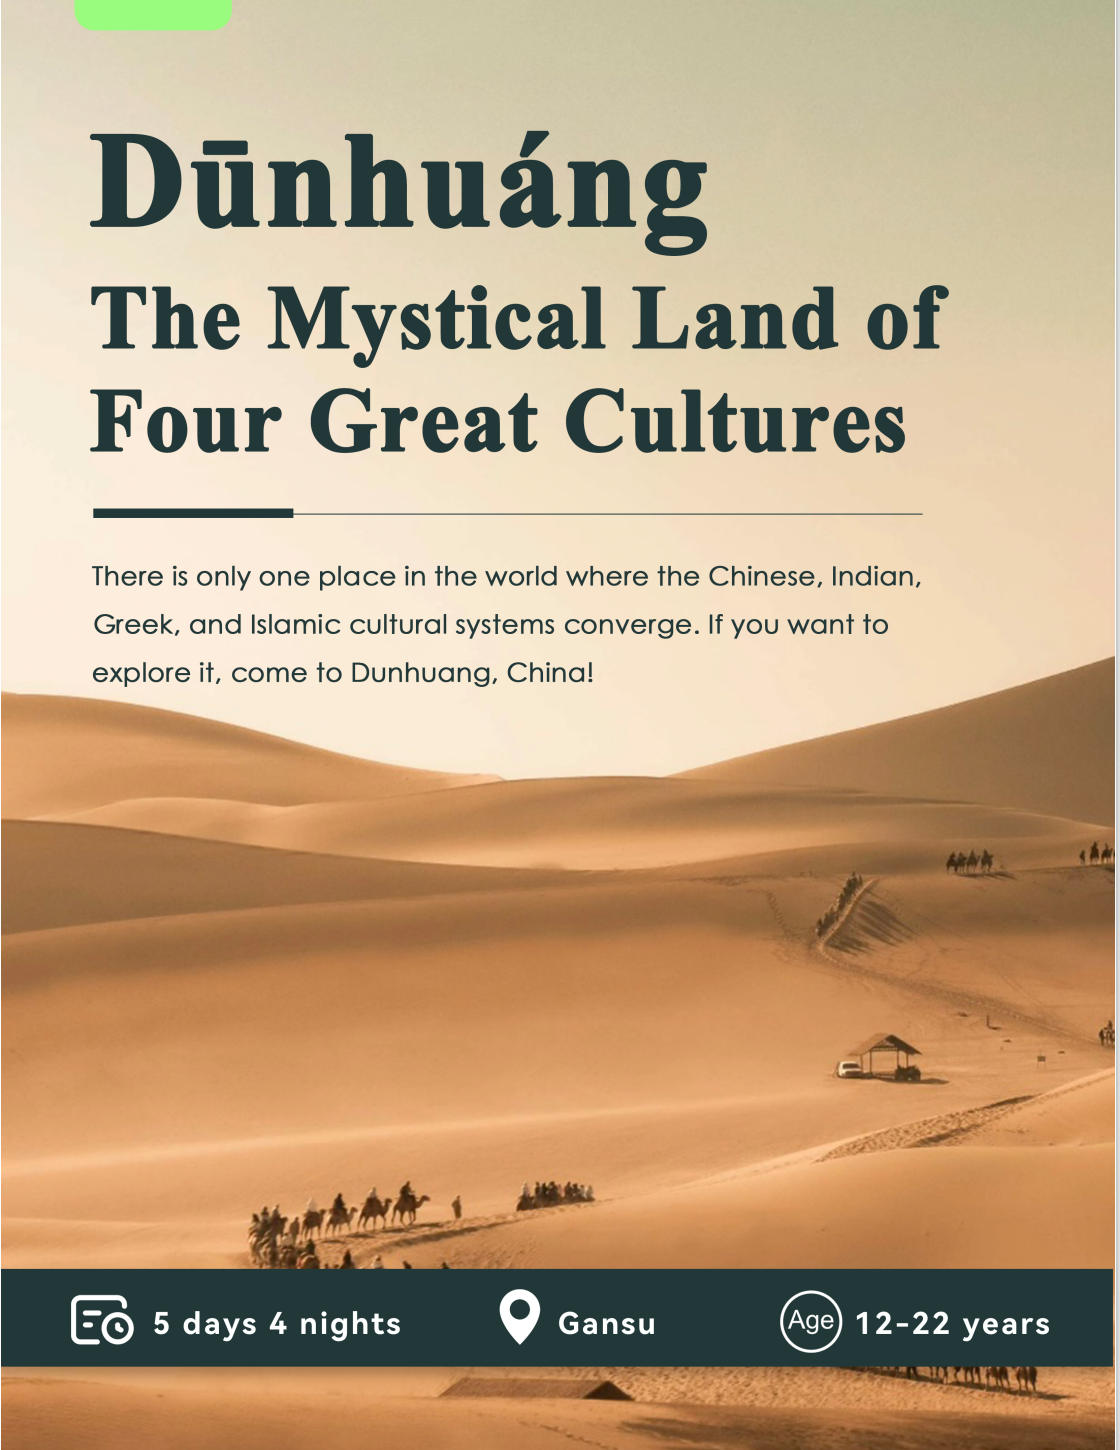
Dunhuang Gansu 5 day trip tips
$13
There is only one place in the world where the Chinese, Indian, Greek, and Islamic cultural systems converge. If you want to explore it, come to Dunhuang, China!
InHeChina
Total:
$13
Credit Card
D.local
Debit cards, E-Wallets & Cash Payments Supported.
Are you sure?
Are you sure you want to delete this?
Cancel
Yes, I'm sure
×
...